07968 107902 / 07595 120212
From the clarity of Raphael to the impressionism popularised by Monet, oil painting has been one of our culture's most renowned visual art methods for many centuries. Whilst the new Timonty Spall biopic Mr. Turner may paint a picture of oil painting as something to be taken on only by the most skilled artists, and whilst it is a challenging art that requires a deep understanding of the tools involved, its most beautiful quality is seeing the slow spread of your improvement both in theory and practice. Today on the Ajanta Studios blog, we're going to cover the basic oil painting tips for beginners, in the hopes of inspiring you to create your first masterpiece.
| | | |
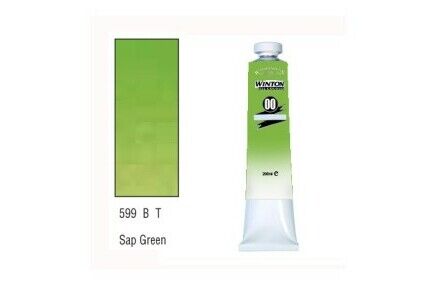
When it comes to choosing your colours, never be tempted by low-price brands. Instead, as a money saving idea try to gather one tube of the essential colours (cadmium yellow, yellow ochre, cadmium red, alizarin crimson, ultramarine blue, titanium white, and mars black) and you can make any hue on the colour wheel. Finding the right colour requires a very strong eye and a colour wheel handy to get a shade that matches the tint and brightness of your subject as close as possible.
The large list of supplies demands a bigger working space, but having a nicely ventilated, studio-like environment also ensures your work is undisturbed whilst it dries- a process that can take three months at the least. Set up your easel, table etc. in an area of the room where people aren't likely to tread, and where no sunlight can reach. Ensure that you're sitting or standing in a comfortable manner, adjusting the angle of your canvas.
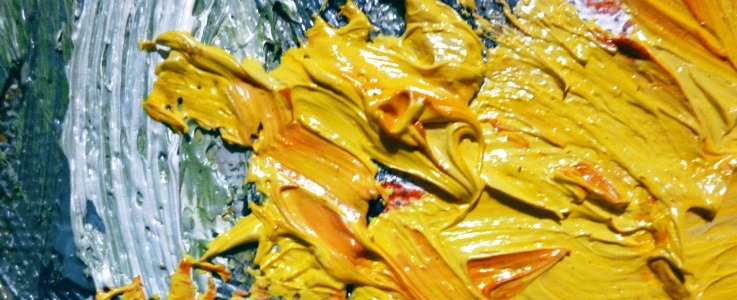
Your initial subjects should be pretty basic, preferably with nice simple shapes. You may have seen depiction of artists minds as an array of cubes, cones, cylinders and rings, but it is really easiest to try and arrange these into a real subject. As quick note on blending techniques, you'll want to brush and rebrush areas so the the two colours appear to meet and merge together seamlessly, and it also helps to to trace a brush over the entire surface to remove the visible brush-strokes as a final step.
We hope that reading this gives you a clear idea of how to plan your first oil painting, and helps prevent some common mistakes on the way. In future we'll cover more distinguished techniques and tell you about varnishing your painting when its dried. For now keep an eye on the Ajanta Studios Facebook page, Twitter and Google+ for future painting and general crafting product news and features.