07968 107902 / 07595 120212
Few feelings of accomplishment match the emotional high of completing a crafting project. That feeling is even better preserved however when the outcome of your hardwork is a practical keepsake that brings new life to a room or your home as a whole. In this regard a simple pair of panel curtains or lined drapes is highly recommended for one of your early endeavours. In this entry of the Ajanta Studios blog, we have the first part of a double-entry explaining how to properly plan and measure out the fabric for your own curtains, ensuring the un-draped room in question is covered up just the way you want it to be!
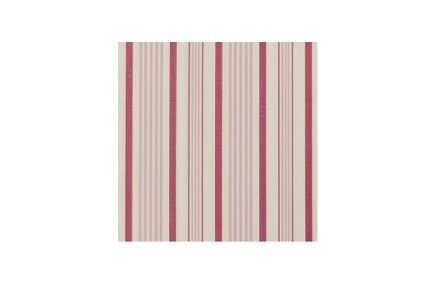
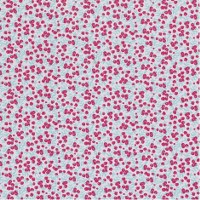
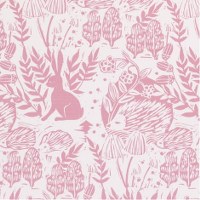
You also need to think about what purpose these curtains will serve. Are they giving you your requsite privacy, or are they just darkening a light sensitive room? The last thing you want is to buy a fabric that, whilst looking great, really doesn't serve the purpose you had in mind and ultimately ends up a waste of time and money.
So, for example, lets say your window is 62 inches wide, and you want your curtains to be primarily decorative. Since this means they'll probably be open most of the time, you only need to add an extra quarter that width to your fabric's width. For height, you add the hem allowance for both top and bottom to your finished curtain length, and then ensure you have double that length to cover each window. Don't be afraid of having lots of extra fabric; it can be used later on for pillow cases and other bedding bits.

Unless you want this project to go on for months rather than hours, you'll need to own, or at least have access to a sewing machine. We outlined what to look for in your first sewing machine buyers in our blog on how to sew your own clothes, but essentially you'll need to know how to sew a basic seam, in a straight line, before starting work.
Other essential tools you'll need include fabric and a thread, some pins, measuring tape, pencil (preferably a sewing pencil), a large space on the floor or a work table, iron and an ironing board and a washer and dryer.
Make sure you follow us on into Part 2 of our curtain guide, where we'll be explaining how to prepare your fabric, and cut/sew it in shape for your making curtains. Don't forget to also keep up to date with all our crafting guides over at the Ajanta Studios Facebook page, Twitter and Google+.