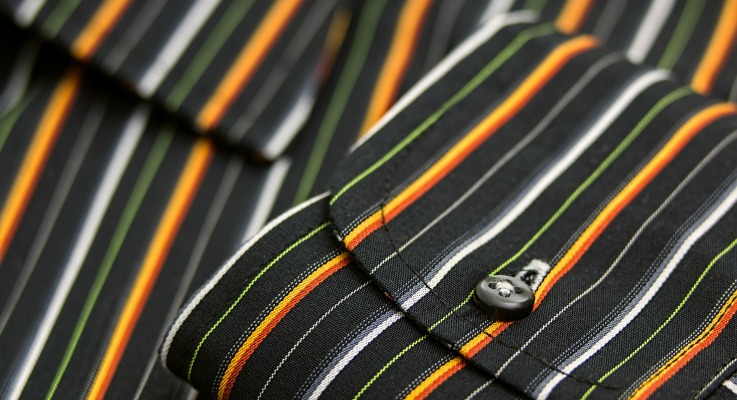
Once you're deep down in the rabbit hole of clothes making and garment sewing, you'll inevitably come across a variety of road blocks. These normally take the form of intricate patterns and challenging designs that most would rather avoid to remain in a permanent crafting comfort zone. One of the most common of these dreaded project ideas is anything involving striped fabric, and whilst the lines of these threads can be tough to match up, the end result is unquestionably worth it. Thus for this entry in the Ajanta Studios blog, we'll take you through the best practices for making different clothes using stripey fabric.
Cutting striped fabric is in many ways a personal preference. It's perfectly fine to not have the lines meet at the seam of your dress, and there's plenty of people who wont even notice. However, since it's rare to find a tailor or seamstress who isn't also a perfectionist, we're sure matching stripes isn't going to be quite as 'optional' for some as it will be for others!
What You Need To Know Before You Start Sewing
Before you get to work setting those stripes straight, you need to see if the fabric you have in mind suits your prospective outfit. Are the stripes printed on top of the fabric, or are they knit into it? You can find this out by simply stretching the fabric out; if the stripes stretch too, then you know the fabric was knit using two (or more) different colours of yarn. How do you match stripes to your fabrics? You'll want to hold the fabrics out in front of you first, or you can even go so far as to sketch out the stripes on design paper so that you get an ideal how they will look when wrapped around a dress or top.
The dress pattern's from McCall's are ideal for experimenting with striped fabric for the first time!
Vital Tip: Pin Often and Carefully
Just like with sewing any seam, being highly observant with your pins can take away huge chunks of difficulty. It isn't that insane to pin literally every stripe on the pattern, but otherwise just pinning every 2-3 inches is perfectly fine. Ideally every stripe intersection should be pinned where the seams have to match (the nice thing is once the top of your fabric is done with, no one will know how much it's been poked at!).
Working With Non-Reversible Stripes
Along with all the varieties of colours and complex combinations therein, striped fabrics come in two styles: reversible and non-reversible. The easy way to find out which of these a particular fabric falls into is to cut in half, and turn them round so they are facing each other. If the striped pattern matches at this angle, then it's reversible, and if not, it's non-reversible. This is important to find out, as a reversible stripe will always take less fabric, and only a 'right or wrong' sided piece of fabric can be used on both sides for clothes making.
Working With Outfits: The Bodice
If creating a dress, top or T-shirt, the side seams will be your first major challenge in matching striped fabrics. The best way to approach this is to line up the bottom corner of the side seam with the top or bottom of a stripe when you pin the front bodice pattern piece to the fabric. This is easier to accomplish by tracing your pattern onto semi-translucent paper, but in practice the obvious uniformity of the stripes should make this easier than it sounds. Doing the back bodice is much the same; line up the bottom corner, the pattern notch and the top corner with matching points in the sequence of stripes.
How Best To Get An Overall Matching Look?
The key to using striped, even checked fabrics is getting matches. How far you go with this is again down to you, but the more you can get a pattern or set of colours to repeat itself, the more impressive the finished garment will be.
For an eye-pleasing final product, you should match all horizontal seams - centre front, back, side and front armhole. Whilst the stripes probably aren't going to match up all along the armhole, it's easy to get at least one sleeve stripe matched up (we recommend the middle) if you put enough practice into it. Once you've created a few simple outfits, test yourself with all sorts of stripey possibilities: small garment sections, collars that are lined only in the inside and piping with bias cut stripes are just a few popular examples.
For all future DIY and guides, and to also keep up to date with all new products on Ajanta Studios, keep and eye on our Facebook page, Twitter and Google+.